Jump to content

Welcome to Autoworld Forum !

Sign In or Register to gain full access to our forums. By registering with us, you'll be able to discuss, share and private message with other members of our community.

Close
Photo

How Will I/you "make Up" Your Hyundai Tucson Ix35? - Part 3


  • Please log in to reply

#1
yoongnc

Posted 09 April 2011 - 05:11 AM

yoongnc

    Taxi Driver

  • Members
  • PipPip
  • 398 posts
Hi folks,

Meant to post this for long time but couldn't find time to take photos.
Here they are, & feel free to comment.

Own Tucson for almost 5-6 months as of now (9-Apr-11).
List of the modifications/changes I made to the car are as below.

yoong

1. V-Kool Elite tinting.

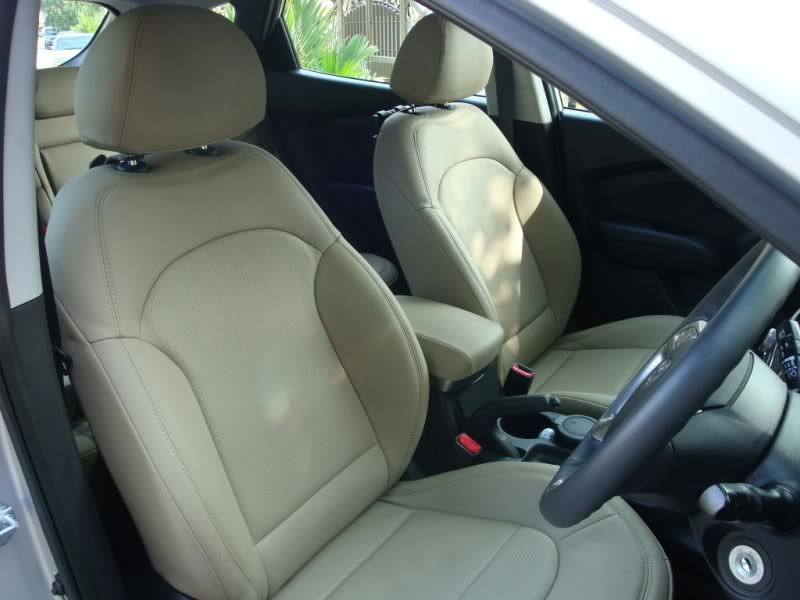
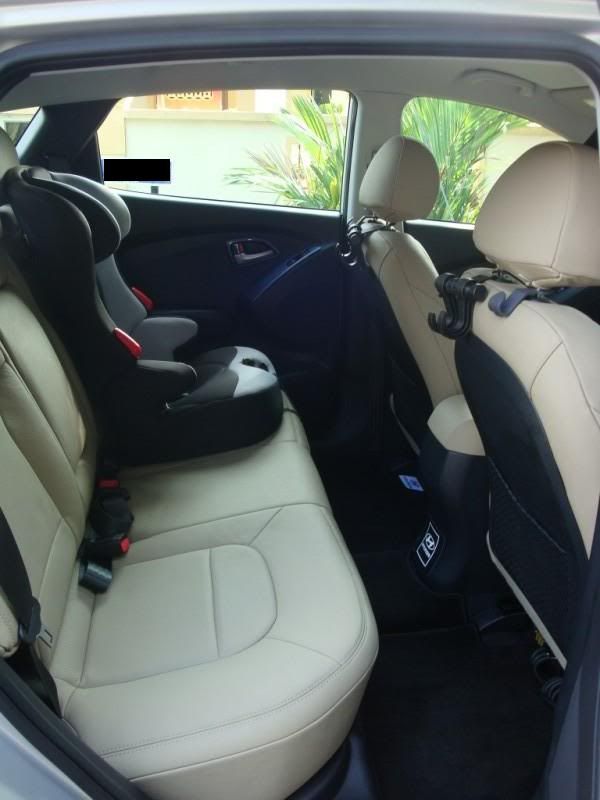
2. Full leather seat, incl. steering wheel & gear knob, from DK Schweizer
-> Both my wife & me chose a very different & controversial light beige colour tone).
http://www.dk-schwei...zer/aboutus.htm


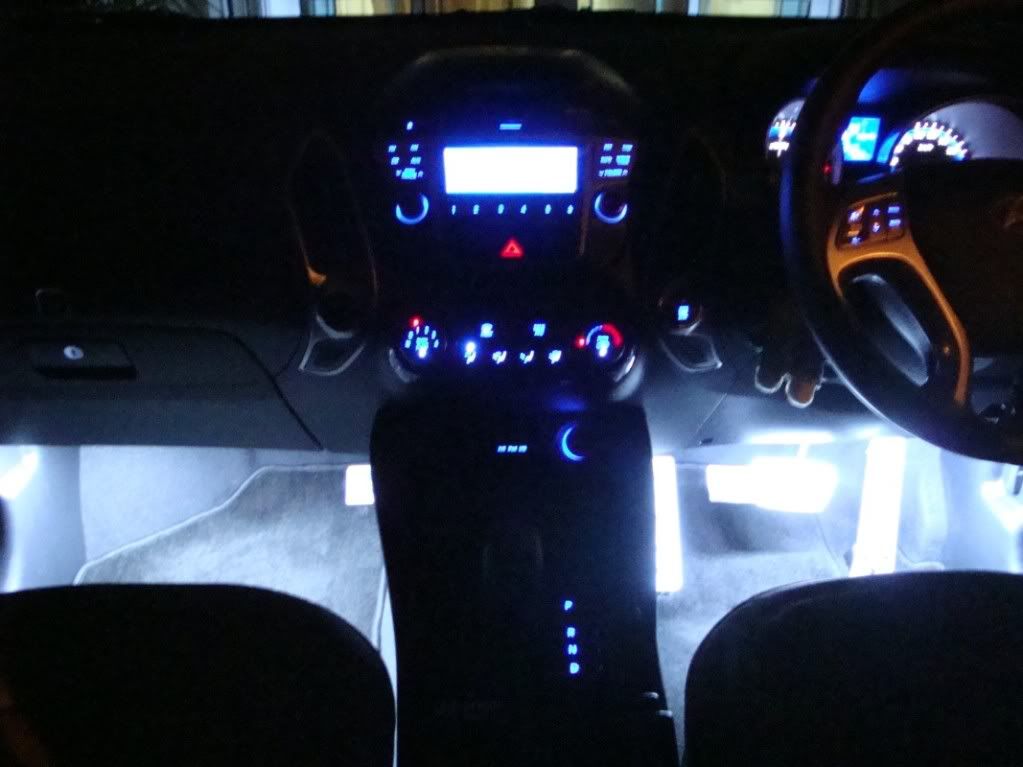
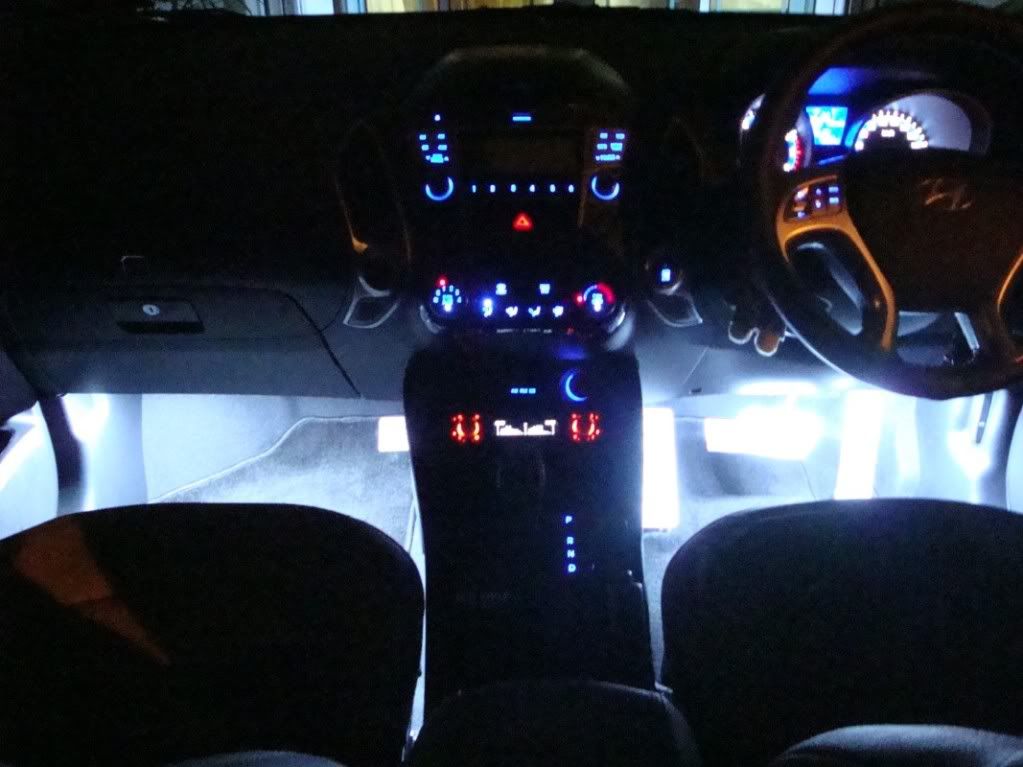
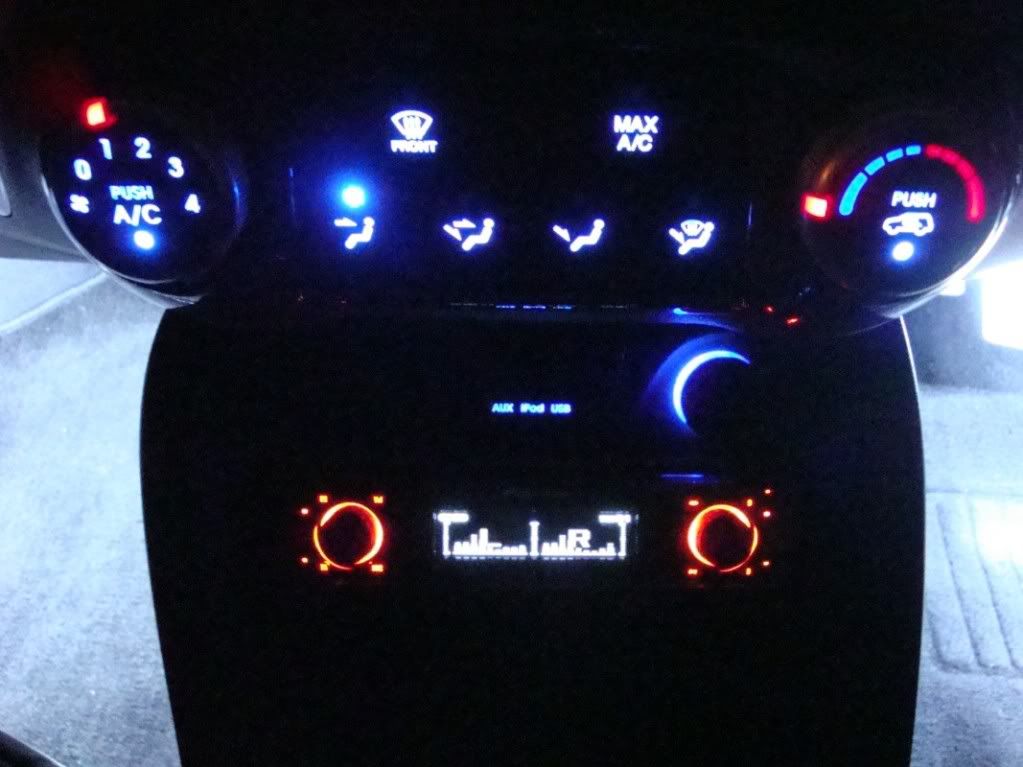
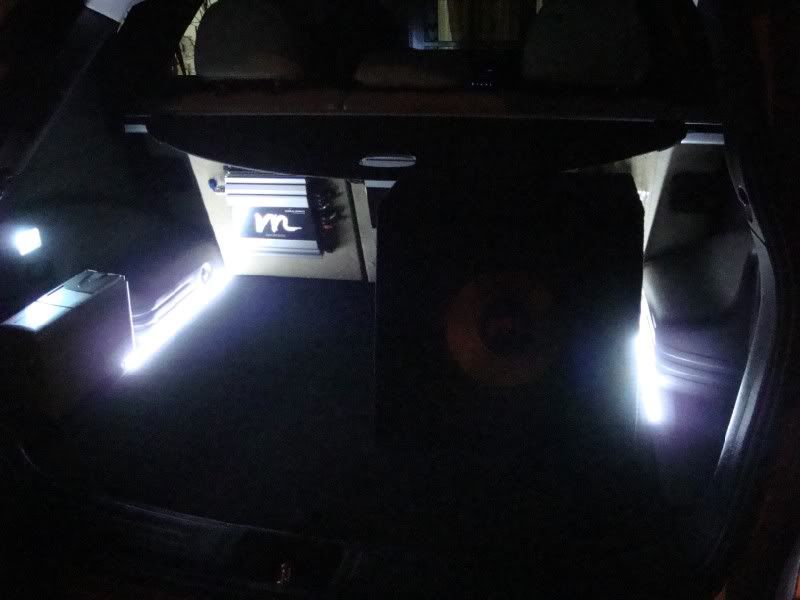
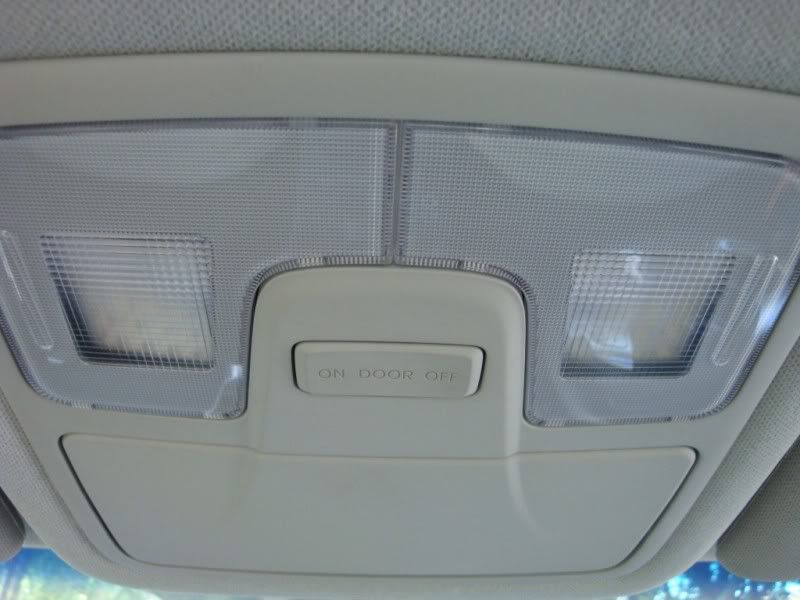
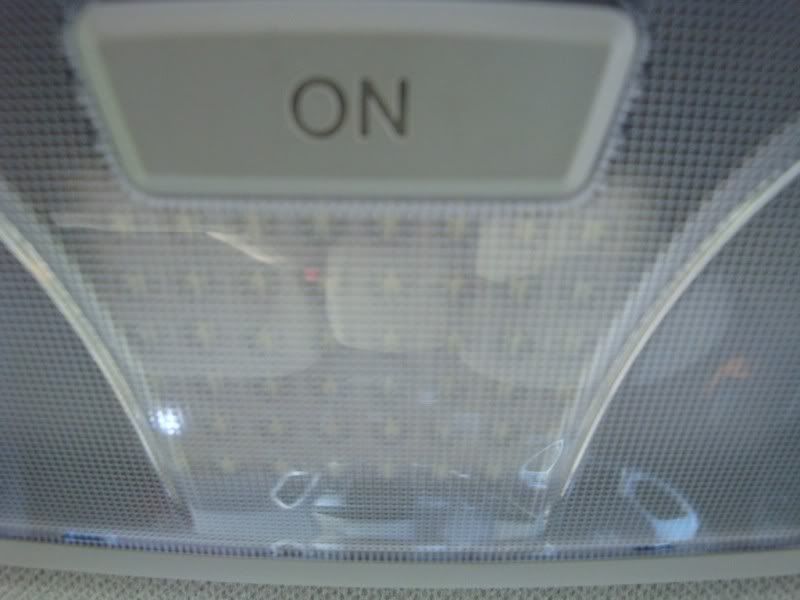
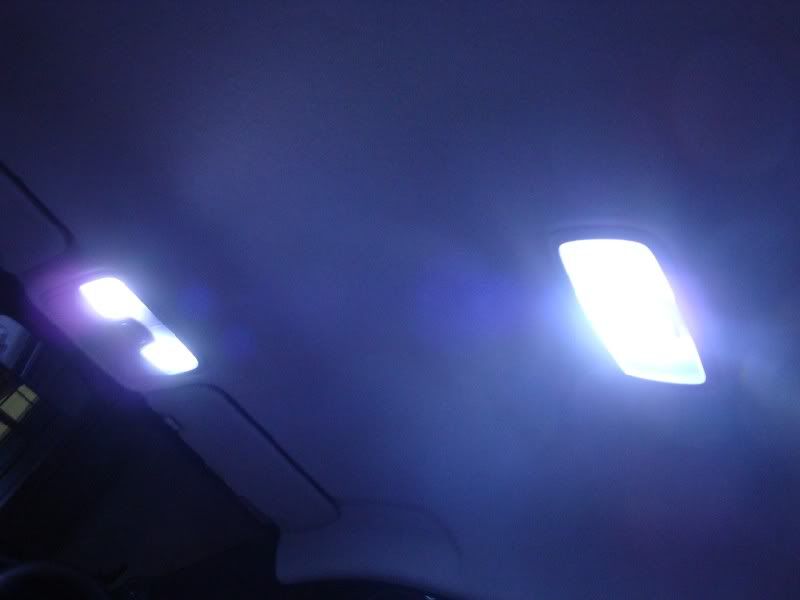
3. Change of all interior bulb to white LED board type (2 map lights, dome light & boot light).


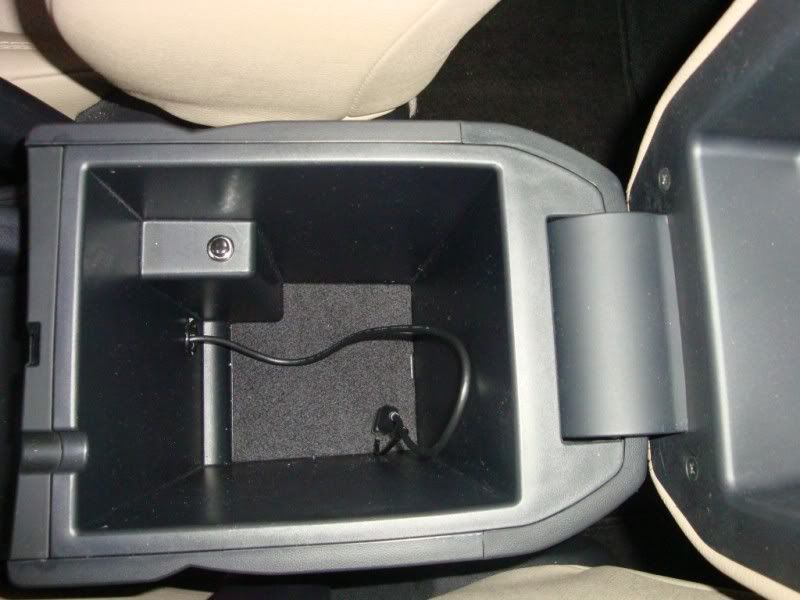
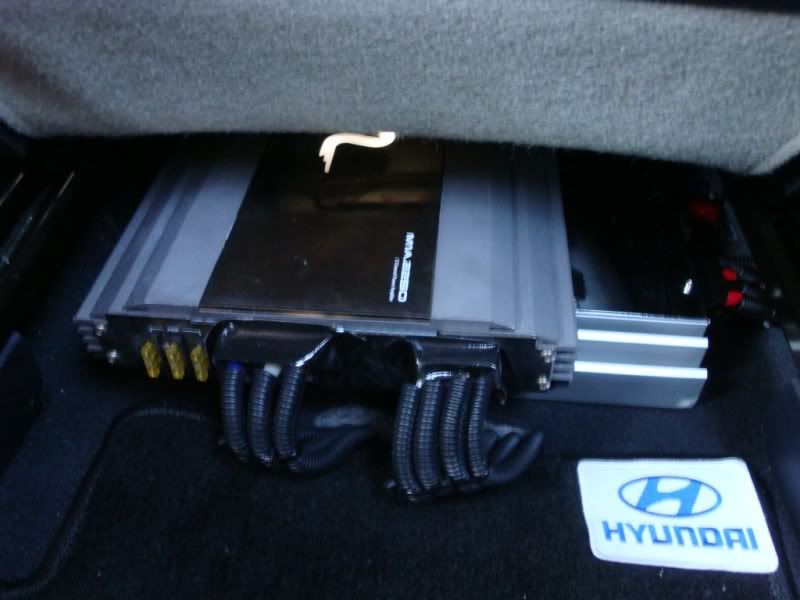
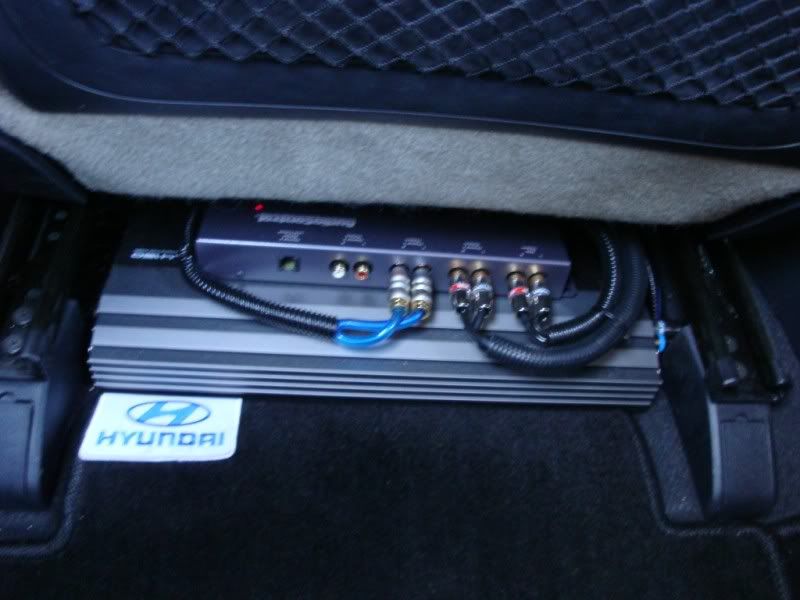
4. A Hyundai black sticker pasted on the behind, bottom of armrest console (reduce foot step prints), see the 2nd photo on item 2 above.

5. White Hyundai adhesive cloth sticker on carpets (useful for rear carpets to tell which is left & which is right); see the 2nd photo on item 2 above.

... continue...


#2
yoongnc

Posted 09 April 2011 - 05:14 AM

yoongnc

    Taxi Driver

  • Members
  • PipPip
  • 398 posts
6. Sports pedals & foot rest (as shown in my Part 2 post).

7. Hyundai metal sticker on gear shift plane (as shown in my Part 2 post).

8. Door scuff plates (reduce foot step prints).
Front:


Rear:


9. LED door scuff plates (again, reduce foot step prints). but LEDs were not wired up (scare of warranty violation).
Front:


Rear:


10. A tiny Hyundai metal logo emblem on the glove compartment.

11. Carbon fiber mold plates on 4 door latches, 2 rear door button panels, 4 aircon vents, 1 audio panel. Front door button panels weren't in because they only came in left-hand drive molds smile_cry.gif
Example of rear door:


12. Custom-made 3M carbon fiber sticker on 2 front door button panels & 1 plain portion of centre audio panel. You can get some clues in my audio system setup photos below.

... continue...


#3
yoongnc

Posted 09 April 2011 - 05:44 AM

yoongnc

    Taxi Driver

  • Members
  • PipPip
  • 398 posts
13. Car audio setup, which is my sole interest & hobby, and by far is the most time-consuming & costly upgrade I ever have, which I have been wanting to do this the most & from the beginning!!

Spent a lot of effort to design & getting it done with my installer in Singapore.
I'm glad that it turned out alright to my satisfaction!!

I invite those who are interested in car audio to share my joy trink28.gif

1. Can you see the difference(s)? How many differences can you spot? smile_wink.gif


2. Firstly, the A-pillar is modified. Molded to mount tweeter & midrange speakers, & then hand-crafted by black cover PVC. The workmanship is fantastic & you hardly can tell the fine stitches.


Besides the 3 pieces of factory-made carbon fiber plastic mold, see my custom-made 3M carbon fiber door button panel sticker (proudly made by me). smile_wink.gif


... continue...


#4
yoongnc

Posted 09 April 2011 - 06:06 AM

yoongnc

    Taxi Driver

  • Members
  • PipPip
  • 398 posts
3. Centre audio console:
Audio sources are, the factory OEM system is still maintained but added in another Pioneer head unit DEX-P99RS, 4-way audiophile head unit that can control 4 outputs of speakers individually.

Factory system plays through
window panel tweeter + door panel woofer + rear door speakers

Pioneer system plays through
A pillar tweeter & midrange speakers + door panel woofer + subwoofer in the boot

Pioneer head unit is below the centre console, with its remote control adhered to point at it:
See that the carbon fiber piece just below the emergency light button? Proudly made by me wink.gif


Did you notice that the iPod USB panel was moved upwards? The installer modified the original empty plastic button panel (meant for heated seat control), to make use of the space below for the head unit mounting. A special mold was needed to slot in the pioneer.


Both sides of the pillars (holes) were covered up with PVC-wrapped wood pieces.


A tiny switch below the fuse panel with determine which audio system to turn on, OEM or Pioneer.


A button inside the armrest control with switch the main door speakers to play music from OEM or Pioneer. The cable is actually hooked up to the Pioneer to play iPod.
I would say this was cleverly done!


... continue...


#5
yoongnc

Posted 09 April 2011 - 06:12 AM

yoongnc

    Taxi Driver

  • Members
  • PipPip
  • 398 posts
4. Car boot view
This is where my wife complained sterb324.gif about no more boot space for her grocery shopping!!

A big subwoofer box with 10" sub + 2 amplifiers mounted on the 2-piece PVC wrapped boards, Pionner 12-disc disc changer & 2 strips of ultra bright white LED to assist the modified LED boot light...


... continue...


#6
yoongnc

Posted 09 April 2011 - 06:17 AM

yoongnc

    Taxi Driver

  • Members
  • PipPip
  • 398 posts
5. Night view of the interior:

With OEM system turn on:


With Pioneer system turn-on:


Note that the white LED strips installed underneath the dashboard of both sides to brighten up the interior:


The colour of the Pioneer head unit can be customized by adjusting RGB values:


... continue...


#7
yoongnc

Posted 09 April 2011 - 06:20 AM

yoongnc

    Taxi Driver

  • Members
  • PipPip
  • 398 posts
6. Night view of the boot area:

The white LED strips outshine the "M" white illumination of my amplifiers smile_dead.gif


... continue...


#8
yoongnc

Posted 09 April 2011 - 06:45 AM

yoongnc

    Taxi Driver

  • Members
  • PipPip
  • 398 posts
7. What are hidden underneath the car seats:

Driver front seat (rear view): 2x 2-channel amplifiers stacking up to drive the midrange speakers of A-pillar & door panel 6.5 in woofers.


Passenger front seat (rear view): 1x 4-channel amplifier to drive the tweeters of A-pillar & window panels.


Passenger front seat (front view): JL Audio electronic switch to switch the door woofers, Audio Control LOC to convert OEM system signals & 2 passive crossovers for OEM system.


... continue...


#9
yoongnc

Posted 09 April 2011 - 06:51 AM

yoongnc

    Taxi Driver

  • Members
  • PipPip
  • 398 posts
8. To summarize, this is how my audio systems in Tucson looks like:


I have changed the stock speakers of window panel, front doors, rear doors to my Macrom speakers, and I have amplifiers hooked up to drive the OEM system, instead of originally direct from source to speakers. Cleaner & more powerful sound than before.

I have also installed 3 layers of sound-proof material mats on front doors & 1 layer at rear doors. Doors are heavier now & rather quiet inside when listening to music...

More photos later, if you want to see how the installer totally "tore-up" the car to get it done... I bet you wouldn't want to install after seeing those photos (heart pain), & my wife didn't have a clue smile_wink.gif
But those installers are good at what they are doing!!

Very tired...
Share more some other days!!

yoong


#10
spnneo

Posted 09 April 2011 - 12:01 PM

spnneo

    Probation

  • Members
  • Pip
  • 22 posts
wow.
very nice!
especially when it is at night.

Yoongnc,
the boot area side illumination is a pretty good idea. what did you use for that?